Glock 19 Front And Rear Sight Installation Instructions
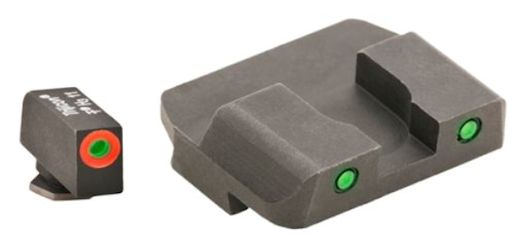
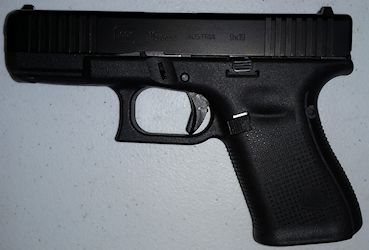
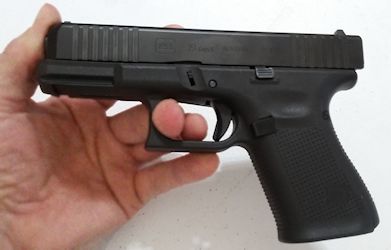
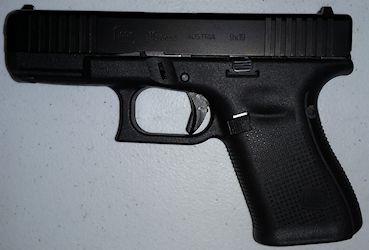
These instructions explain how to replace the front and rear sights on a Glock 19 Gen 5 pistol. We're using some AmeriGlo Spartan Tactical Operator Sights but the procedure is similar for other sights.
These are the steps I took to help a friend install an Ameriglo front and rear sight on his Glock 19 pistol.
I'm not a gunsmith so I recommend work on firearms be carried out by a licensed professional.
This is a guide to help you be a more knowledgeable consumer.
I assume no liability for any injury to any person or damage to your firearm resulting from attempting this.
Step 1 - This is what is being done
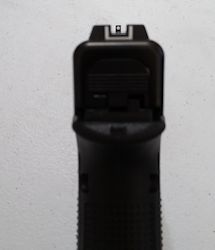
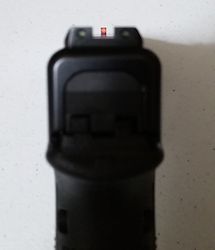
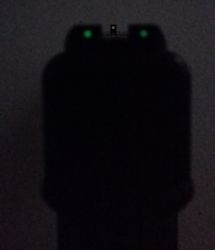
This is the original sight picture vs. the new.
The new has an orange front sight in regular light and
the front and rear are glow in the dark green when the light is low.
Step 2 - Items used in these instructions
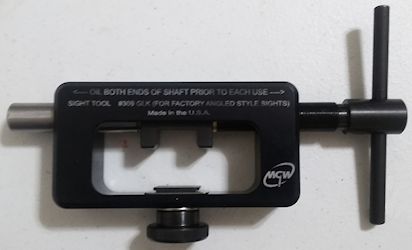
More description of the MGW sight mover from Brownells.com:
Safely moves fixed sights right or left in their dovetails without deforming slide or sight.
Specifically designed for use with factory and aftermarket Tritium night sights,
which are too fragile for the traditional hammer-and-punch sight installation method;
works equally well with iron sights.
Step 3 - Make sure your pistol isn't loaded
Remove the magazine and make sure the pistol isn't loaded.
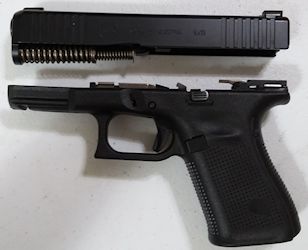
Step 4 - Remove the slide assembly
Here's how I remove the slide assembly.
- Pull the trigger.
- Put your left finger in the trigger guard for leverage.
- Push the slide back about 1/8" with your thumb.
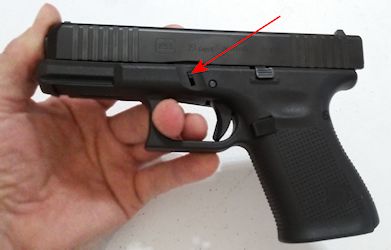
- Push the slide lock down on both sides.
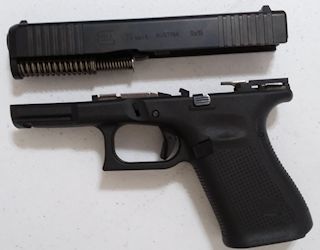
- Push the slide forward and remove it.
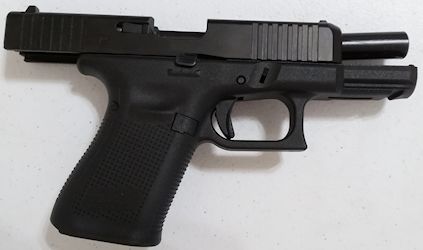
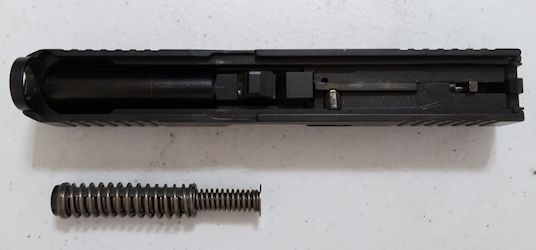
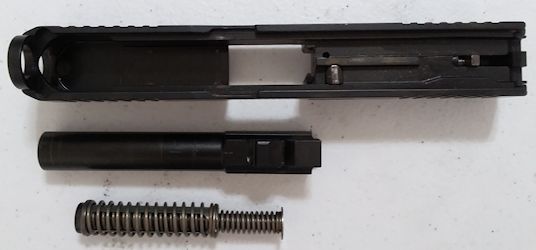
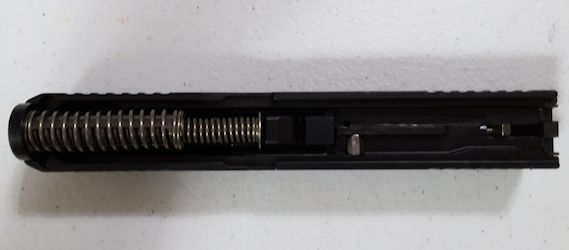
Step 5 - Remove the recoil spring assembly and barrel
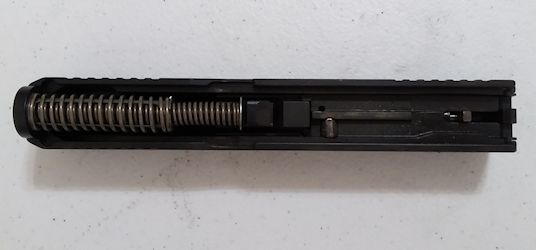
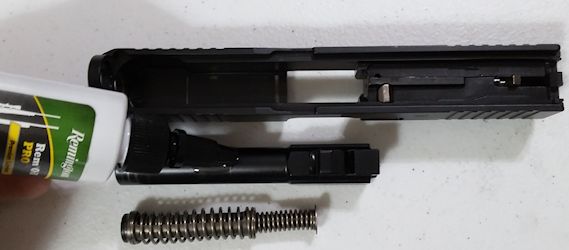
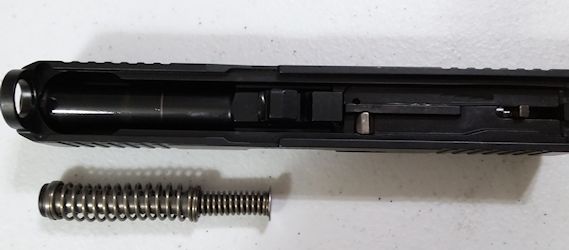
Remove the recoil spring assembly and barrel
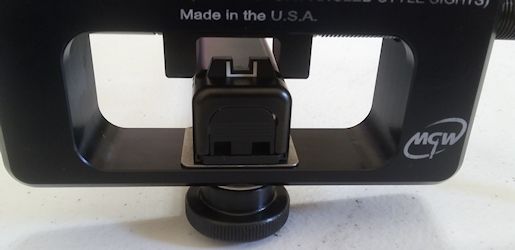
Step 6 - This sight tool is specifically made for Glocks
This sight tool is made for Glocks.
There's a shim on the bottom that can be removed if the slide is a large size.
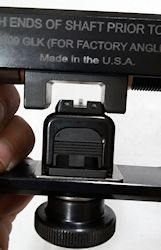
Step 7 - Put the slide in the sight tool
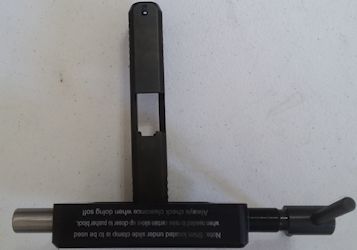
Turn the T handle so the pusher is in the center of the tool.
Put the Glock slide in place. If you have a large slide you might need to remove the silver shim that's shown below this slide.
There's a little bit of side to side play, so try to make it go on straight
Tighten the clamp.
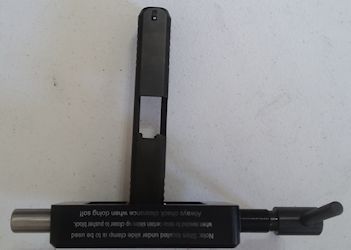
Put the Glock slide in place. If you have a large slide you might need to remove the silver shim that's shown below this slide.
There's a little bit of side to side play, so try to make it go on straight
Tighten the clamp.
Step 8 - Use the sight tool to remove the old sight
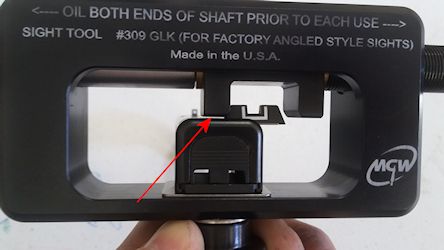
Turn the T handle on the sight tool to remove the old sight.
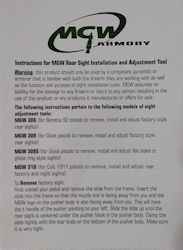
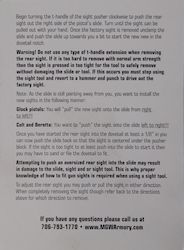
The MGW instructions say to push the sight out from the left to right.
Notice there's a small space between the tool and the top of the slide.
This gap needs to be there so the tool doesn't scrape the slide.
If it's a bigger slide the silver shim between the slide and tool will need to be removed.
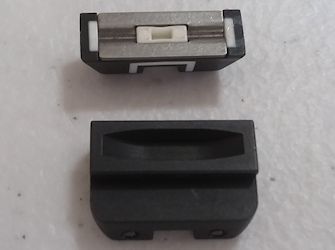
Step 9 - Optional - if you do this, be sure to let the glue completely dry before installing it
I heard other people had issues with the sight being damaged if it was moved multiple times.
Some people believe the hollow channel on the back side is making it weaker.
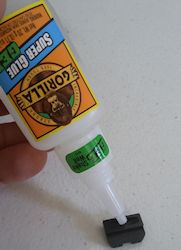
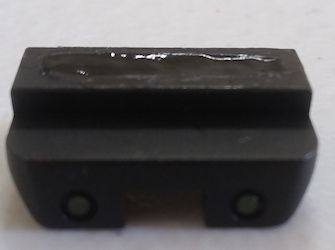
I don't know why it would be hollowed out so I decided to fill it in with superglue and let it dry.
I'm not sure if this will help make it stronger or even if it's really a good idea.
I did it because I thought it might help keep it from being ruined if we decide to remove it later.
I let it sit overnight before installing it so I would be sure it was completely dry.
Step 10 - Put on the new sight
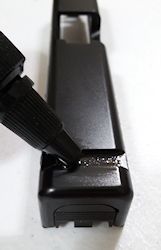
I put a little oil in the groove so the sight would slide in easier.
The MGW tool instructions say to install the rear sight from right to left.
Turn the T handle to push the sight into place.
If the sight is loose, instead of the oil you might want to put a drop of blue Loctite in the groove.
Step 11 - Remove the MGW tool and make sure the sight is centered
Test to make sure it's centered.
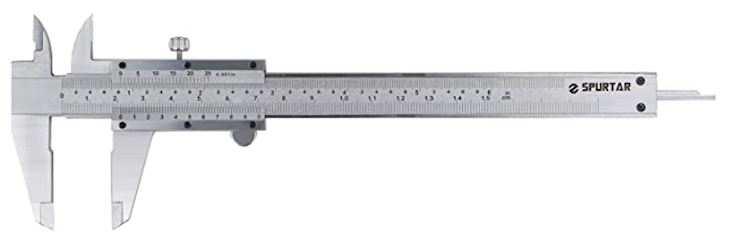
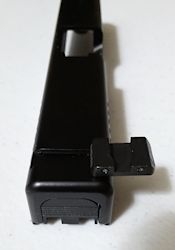
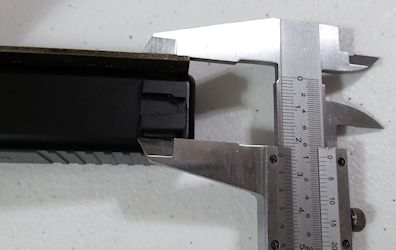
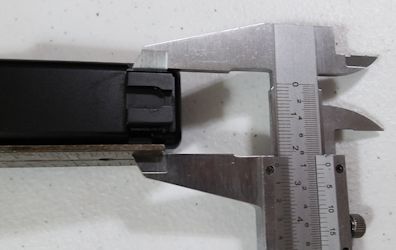
I put a ruler on one side of the slide so it would be a flat surface.
Then measured from it to the opposite side of the sight.
I measured both sides to make sure they were the same.
If needed you can put it back in the MGW tool to make any adjustments.
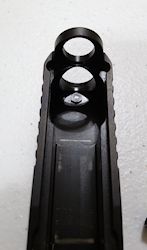
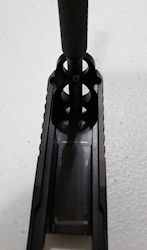
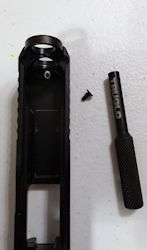
Step 12 - Remove the front sight screw
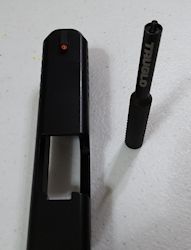
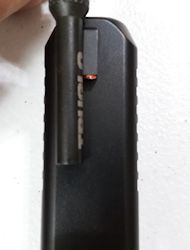
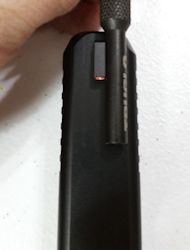
Use the Truglo tool to remove the front sight screw.
I don't think the screw could be removed without a specialized tool.
This tool went on very easily, not like when I replaced the front sight on a Glock 44.
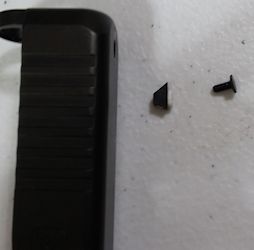
Step 13 - Remove the top part of the sight.
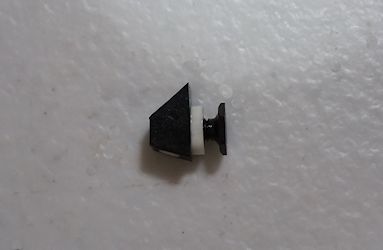
The top part of the sight should now just come off.
I decided to keep the old one in case I want it in the future.
Step 14 - Prepare for installation
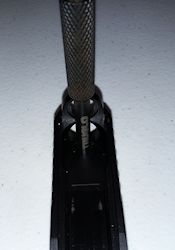
Put the new screw on the Truglo tool and put the top sight on the slide
Step 15 - Install the sight screw
Snug the sight screw into the sight but don't tighten it yet.
Step 16 - Straighten the sight
Straighten the top of the sight.
Because the sight is so small, it's hard to tell if it's perfectly straight.
I put the screw tool on each side of the sight because it made it more obvious if it needed to be adjusted.
While the tool is alongside the sight, it can be used to push the sight more accurately.
Step 17 - Tighten the screw
Tighten the screw.
The sight might want to rotate as you're tightening it so try to hold it in place as you're tightening.
I tightened a little, checked the straightness. Repeated until it was tight.
Step 18 - Reinstall the barrel and recoil spring assembly
Reinstall the barrel and recoil spring assembly.
There's some visible wear on the barrel so I put some oil on.
Step 19 - Put the slide back on
Put the slide back on
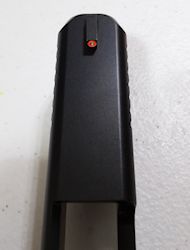
Step 20 - Original Vs. New
This is the original sight picture vs. the new.
The new has an orange front sight in regular light and
the front and rear are glow in the dark green when the light is low.
